


A Guide Insta 360 To Successful Videos in Avoriaz
How to Use an Insta360 Camera While Skiing: The Simple Guide to Successful Videos in Avoriaz

Revolution
Before, with a traditional camera, you had to aim, frame the shot, and hope not to miss anything… and very often, you ended up with a shaky, incomplete video. Today, with an Insta360, you film everything around you. Skiing down a run? You capture the mountains, your friends behind you, and even your own reactions. Walking through the snow-covered village? Every moment becomes an immersive experience.

Memories
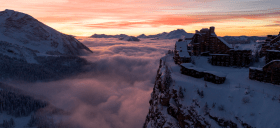
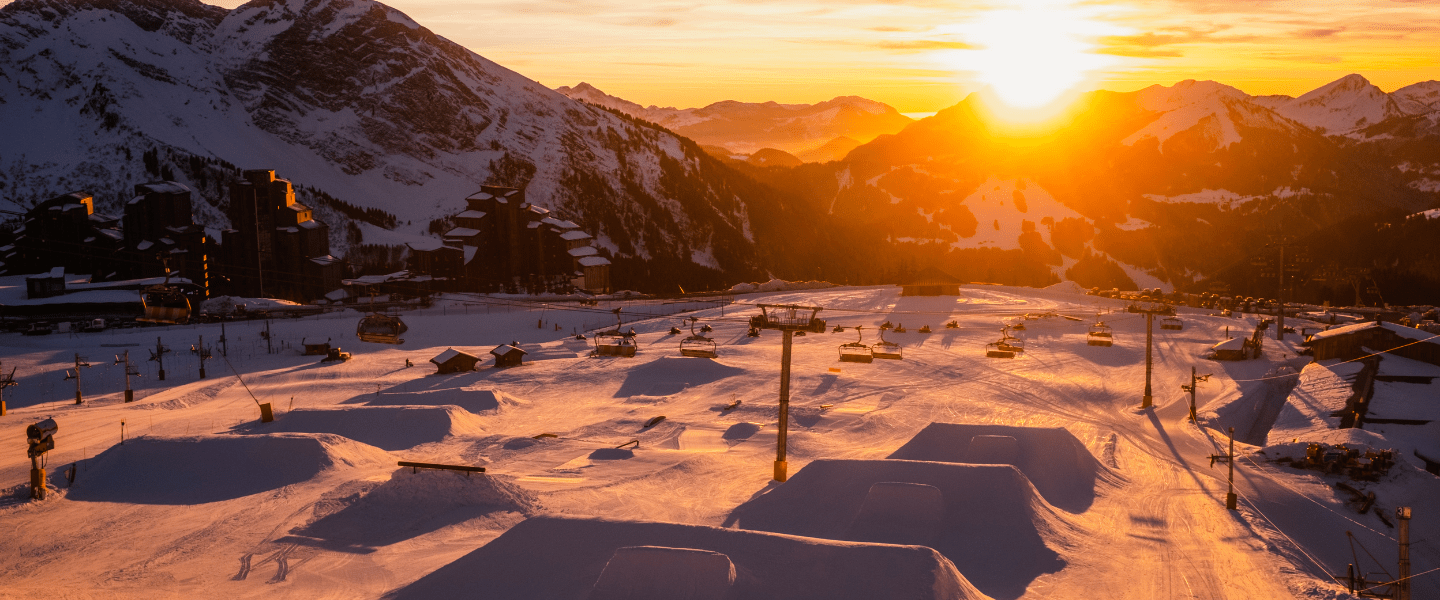
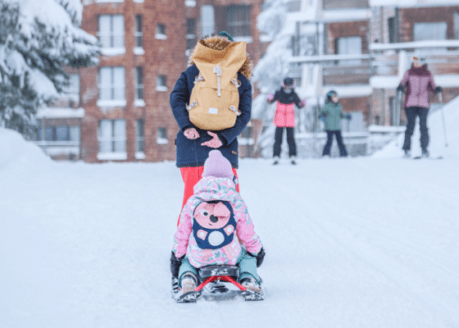
In Avoriaz, the best memories aren’t limited to ski runs. The pedestrian village, lifts gliding through falling snow, sunny breaks, and ski-in ski-out returns all create moments you want to relive long after the trip is over. With an Insta360 camera, every moment is captured naturally, preserving images that stay true to the experience itself, without having to decide in advance what really matters.

Simplicity
After a day on the slopes, there’s no need to spend hours editing your videos. Everything is done directly from your smartphone. The Insta360 app automatically turns your footage into dynamic clips, ready to share. Just a few gestures are enough to get a smooth, immersive result, no computer and no technical skills required.
Creating Great Ski Videos in Avoriaz with an Insta360 Camera
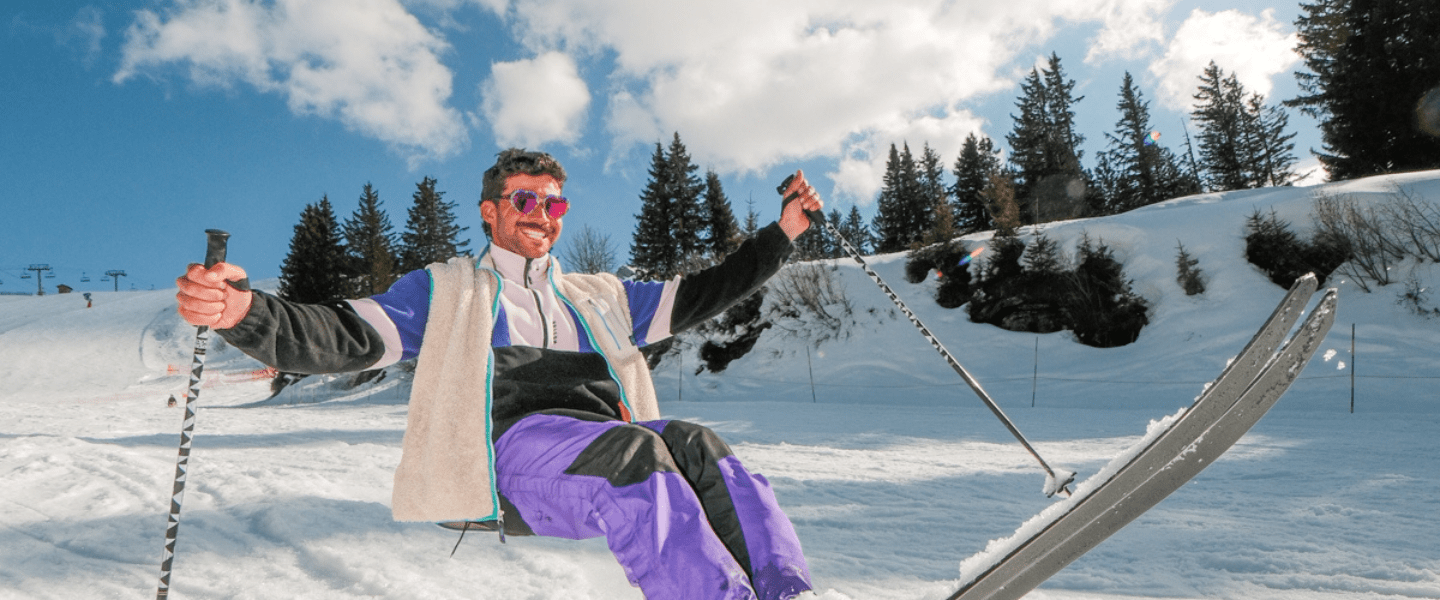
When on a mountain holiday, the main desire is to fully enjoy every moment and keep authentic memories to relive and share. You think about skiing, the sensations, the changing scenery, and the pleasure of being outdoors. The problem is that capturing these moments has long been complicated. Between the cold, gloves, speed, and changing terrain, filming properly on the slopes is often a real challenge. The result is shaky videos, rough framing, and above all, many missed moments.
This is exactly where the Insta360 camera changes the game. Designed to capture the moment without thinking about it, it lets you film your ski days easily, without interrupting the experience. You ski as usual, and the camera takes care of the rest.
A Camera Designed for You
- Un seul bouton pour filmer : lancez l’enregistrement instantanément, sans réglages complexes.
- Stabilisation automatique ultra fluide : des images nettes et stables, même sur une piste bosselée ou à vive allure.
- Format compact et polyvalent : se glisse dans une poche ou se fixe facilement sur un casque pour filmer en toute liberté.
- Prise en main intuitive : profitez pleinement de vos vacances sans vous soucier de la technique, la caméra fait le reste.
- Conçue pour l’hiver : étanche et résistante, elle affronte sans problème la neige, le froid et les conditions exigeantes d’Avoriaz.
Settings to Know Before Hitting the Slopes
Filming while skiing comes with specific constraints: high speed, constant vibrations, and strong differences in brightness between snow, sky, and shaded areas. Even with a high-performance action camera, the final result largely depends on the settings chosen before heading out.
Stabilization should always be activated. It is essential for smoothing out terrain irregularities and keeping the image comfortable to watch, especially at high speed or on chopped-up snow. Without it, footage quickly becomes jerky and tiring to watch over a full run.
Frame rate (fps) is a key parameter. In skiing and snowboarding, shooting at 50 or 60 fps helps manage speed and vibrations more effectively, while also allowing certain moments to be slowed down during editing, such as jumps or strong turns. Lower frame rates can work for calm shots, but they quickly show their limits in action scenes.
Resolution should be chosen thoughtfully. In 360-degree video, a higher resolution is recommended to maintain quality after reframing. However, there is no need to always aim for the maximum settings if your editing workflow cannot handle it. A stable, well-managed format is often more effective than an overly heavy file.
Exposure is one of the most sensitive settings in the mountains. Very bright snow often leads to automatic overexposure. In alpine environments, snow acts like a massive light reflector. Automatic modes tend to overexpose the image, quickly blowing out highlights and removing snow texture. To avoid this, it is recommended to slightly underexpose the image.
On an Insta360 camera, the ideal approach is to apply an exposure compensation between -0.3 and -0.7 EV depending on conditions.
- -0.3 EV works well in good weather with lightly veiled skies.
- -0.5 EV is a very reliable value in full sunshine.
- -0.7 EV can be useful when the snow is extremely bright or at high altitude.
This slight underexposure helps preserve detail in highlights and prevents blown-out areas. A slightly darker image is always easier to correct in post-production than an overexposed one.
ISO settings should be kept under control. ISO directly affects image quality, especially in the mountains where contrast levels are high. In daylight, it is recommended to keep ISO as low as possible to preserve sharpness and avoid digital noise, which is particularly visible in shaded areas or forests.
On an Insta360 camera, the following values deliver good results:
- ISO 100 to 200: ideal in full sun or clear skies
- ISO 200 to 400: suitable for mixed conditions with alternating sun and shade
- Above ISO 400: best avoided during the day, as noise becomes quickly noticeable
Whenever possible, it is better to limit the maximum ISO range rather than letting the camera raise it automatically too high.
White balance also deserves to be stabilized. Blue color casts caused by snow and sky can distort colors if white balance is left on automatic. A fixed white balance helps achieve a more natural and consistent image throughout the day. White balance is often heavily challenged when skiing. Snow and sky naturally produce cool tones that can push the image toward blue when white balance is set to automatic. The result is unnatural colors and visible variations from one shot to another.
For a more consistent look, it is recommended to lock the white balance rather than letting it fluctuate:
- 5,500 K to 6,000 K: reliable in full sun
- 6,000 K to 6,500 K: suitable for overcast conditions or flat light days
The goal is not to perfectly correct every situation, but to maintain visual consistency across the entire session, especially when moving between sunny and shaded areas.
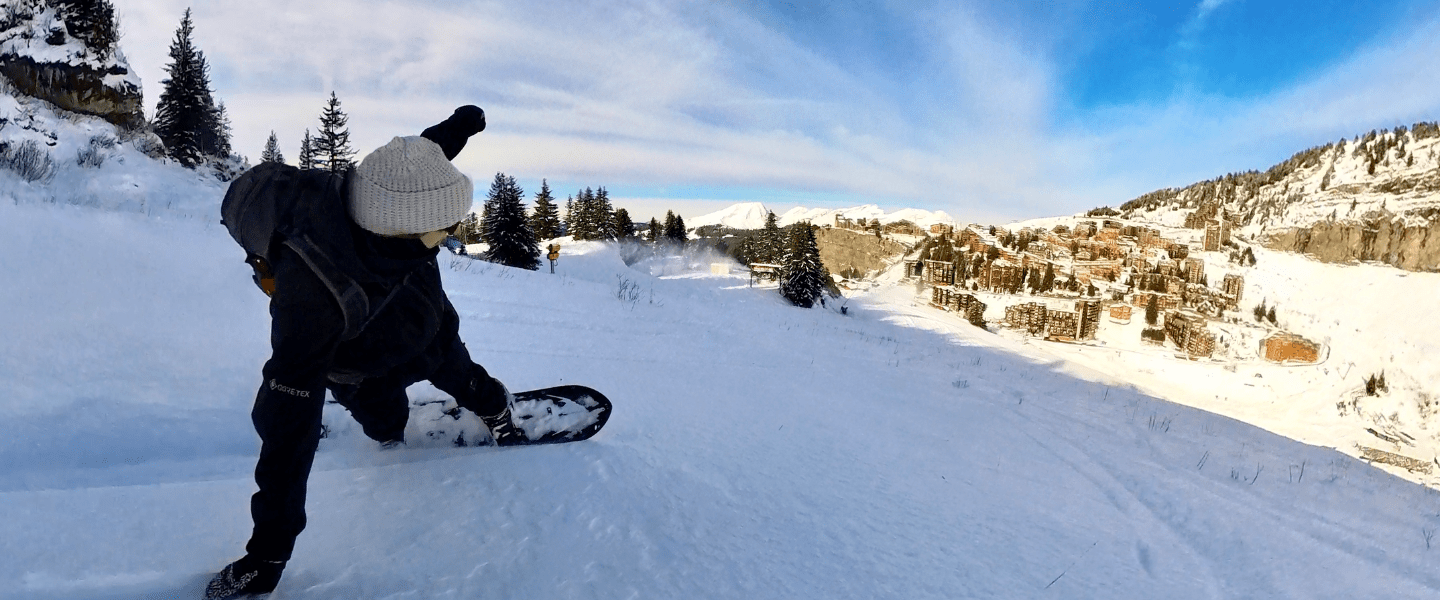
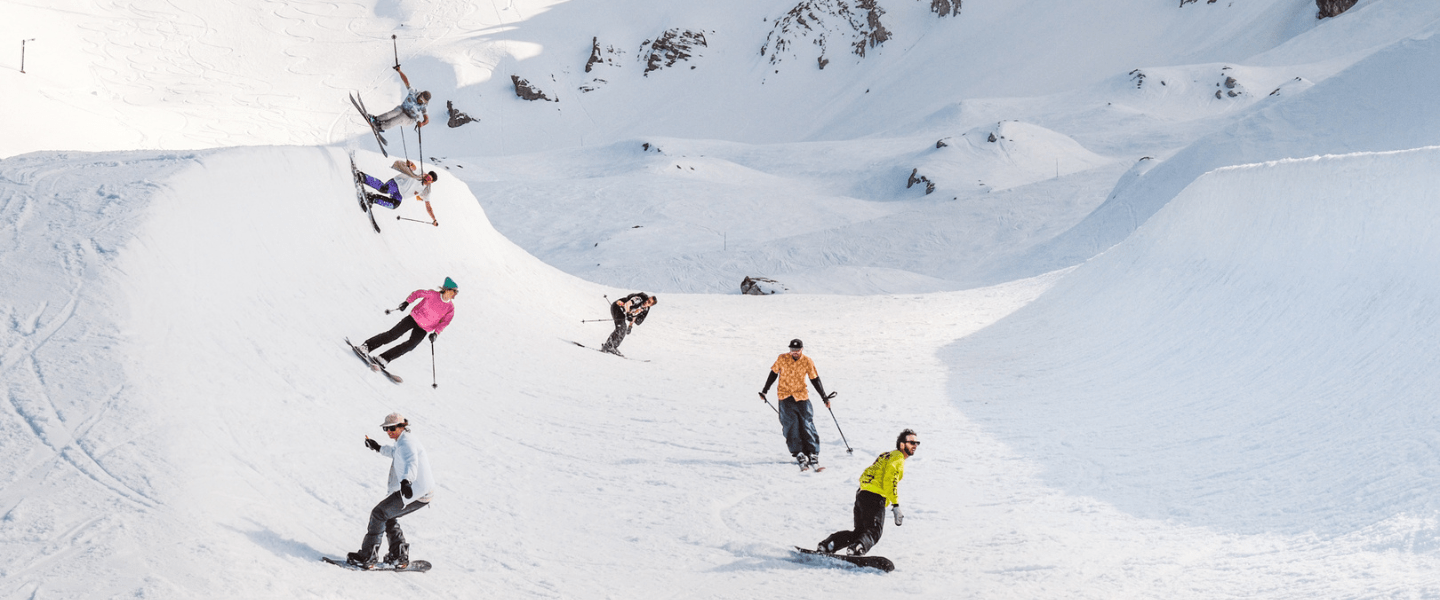
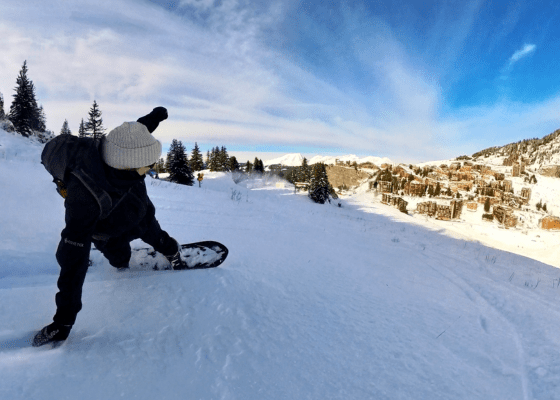
Snowboard-Specific Settings
Snowboarding involves fast rotations, strong edge changes, and frequent switch riding. To keep footage clear and readable, certain settings are essential.
Orientation and angle
The camera should stay as close to level as possible. Excessive tilt exaggerates rotations and makes the image harder to read. Aim for a neutral angle, with a maximum tilt of 5 to 10 degrees. Whether mounted on a helmet or a pole, stability matters more than a dramatic effect.
Frame rate
For all tricks, prioritize 60 fps. This ensures smooth rotations and allows footage to be slowed down by up to 50 percent during editing without losing quality. Below 30 fps, rotations greater than 180 degrees quickly become jerky.
Exposure and switch riding
Riding switch often disrupts automatic settings. It is recommended to lock exposure and white balance before riding. A slight underexposure, around -0.3 to -0.5 EV, helps preserve detail when your orientation changes toward the sun.
Snowpark
- Frame rate: 60 fps
- Exposure: -0.5 EV
- Max ISO: 200 to 400
- White balance: fixed (5,500 to 6,000 K)
Freeride and piste
- Frame rate: 50 to 60 fps
- Exposure: -0.3 EV
- Max ISO: 200
- White balance: fixed or semi-fixed
Mounting Your Camera Properly to Ski with Complete Freedom
How the camera is mounted often makes the difference between usable footage and images that are hard to watch. In both skiing and snowboarding, stability and clear motion are the top priorities. An original point of view only has value if it helps convey the flow of the ride.
A helmet mount is the most reliable option for fast, technical, or committed descents. It accurately reflects your line, speed, and terrain while limiting unwanted vibrations. Positioned too far back, the image loses clarity; too far forward, head movements become exaggerated. The ideal setup is a centered position, slightly forward, with a neutral angle close to horizontal.
A pole provides a more cinematic look and highlights the surroundings more effectively. It works particularly well on wide pistes, in freeride, or for smoother sequences. However, a pole that is too long or poorly controlled can create visible oscillations in the footage. For clean results, it is best to use a short to medium pole, held steadily, without overdoing movements.
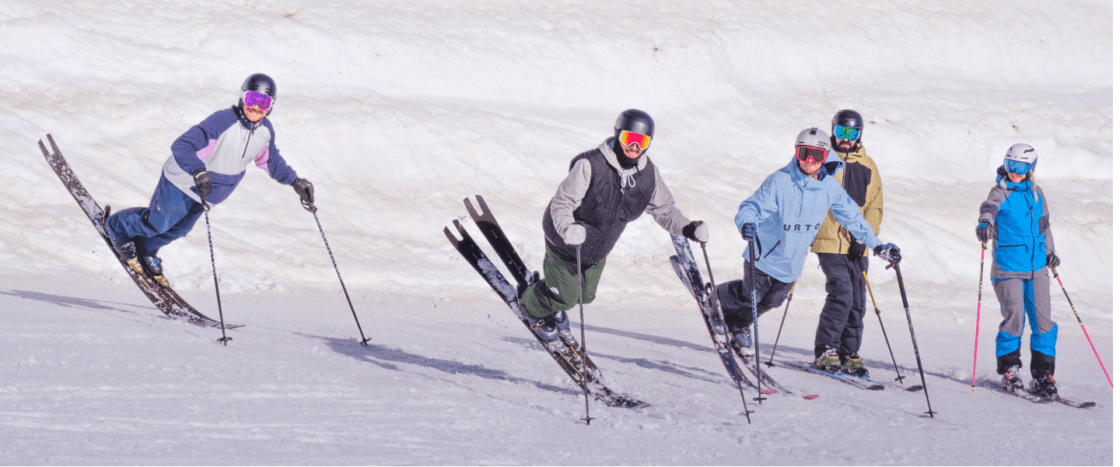
A backpack mount is often underestimated. It allows you to capture the overall atmosphere, skiers or riders following you, and the scenery passing by. This is a relevant option for documenting a full day or filming a group, as long as the camera has a clear field of view and is properly aligned. A mount that is too low or partially blocked by straps quickly reduces image clarity.
Regardless of the mount used, some fundamentals always apply. The camera must be firmly secured with no play and aligned consistently with your direction of travel. Excessive tilt, loose mounts, or poorly tightened accessories increase vibrations and make footage tiring to watch. It is also essential to check that nothing obstructs the field of view, such as jackets, hoods, or straps.
Certain practices should always be avoided. Handheld filming while skiing or snowboarding compromises both safety and image stability. Changing mounts during a descent or adjusting the camera while moving disrupts the session and increases the risk of missing the best moments. Once the setup is validated, it should remain unchanged.
Choosing the right accessories and mounting method ensures smooth, consistent footage, without ever taking your focus away from what matters most: the ride.
Editing and Sharing Your Videos
Gone are the days when you had to wait until you got home and sit in front of a powerful computer to sort through and edit the videos you filmed during your holidays.
Once the day is over, you head back inside and warm up. That is where the magic continues. Thanks to the Insta360 app, your footage is automatically analyzed and turned into dynamic clips. You can then choose your angles, slow down a sequence, add music, or create a spectacular effect with just a few gestures.
In just a few minutes, your video is ready to be shared on Instagram, TikTok, or YouTube. Try the Insta360 tutorials and you will see just how easy it is.
Why Insta360 Works So Well in Avoriaz
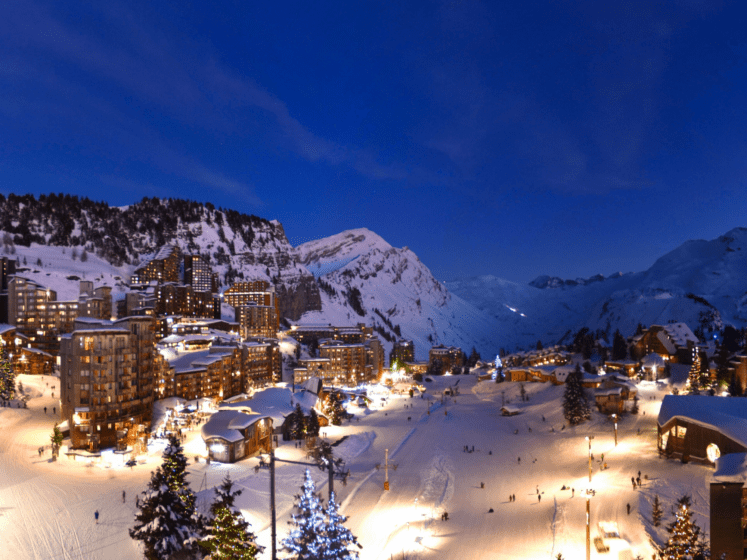
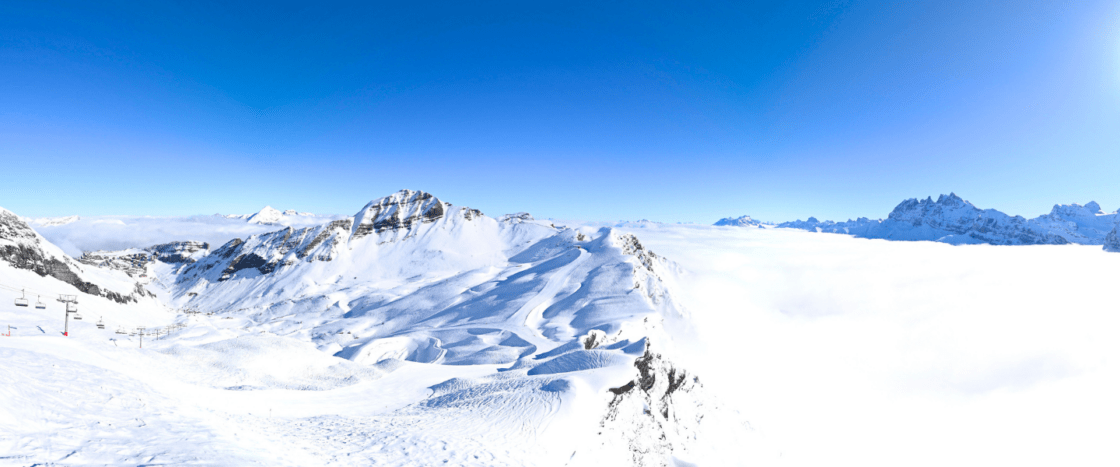
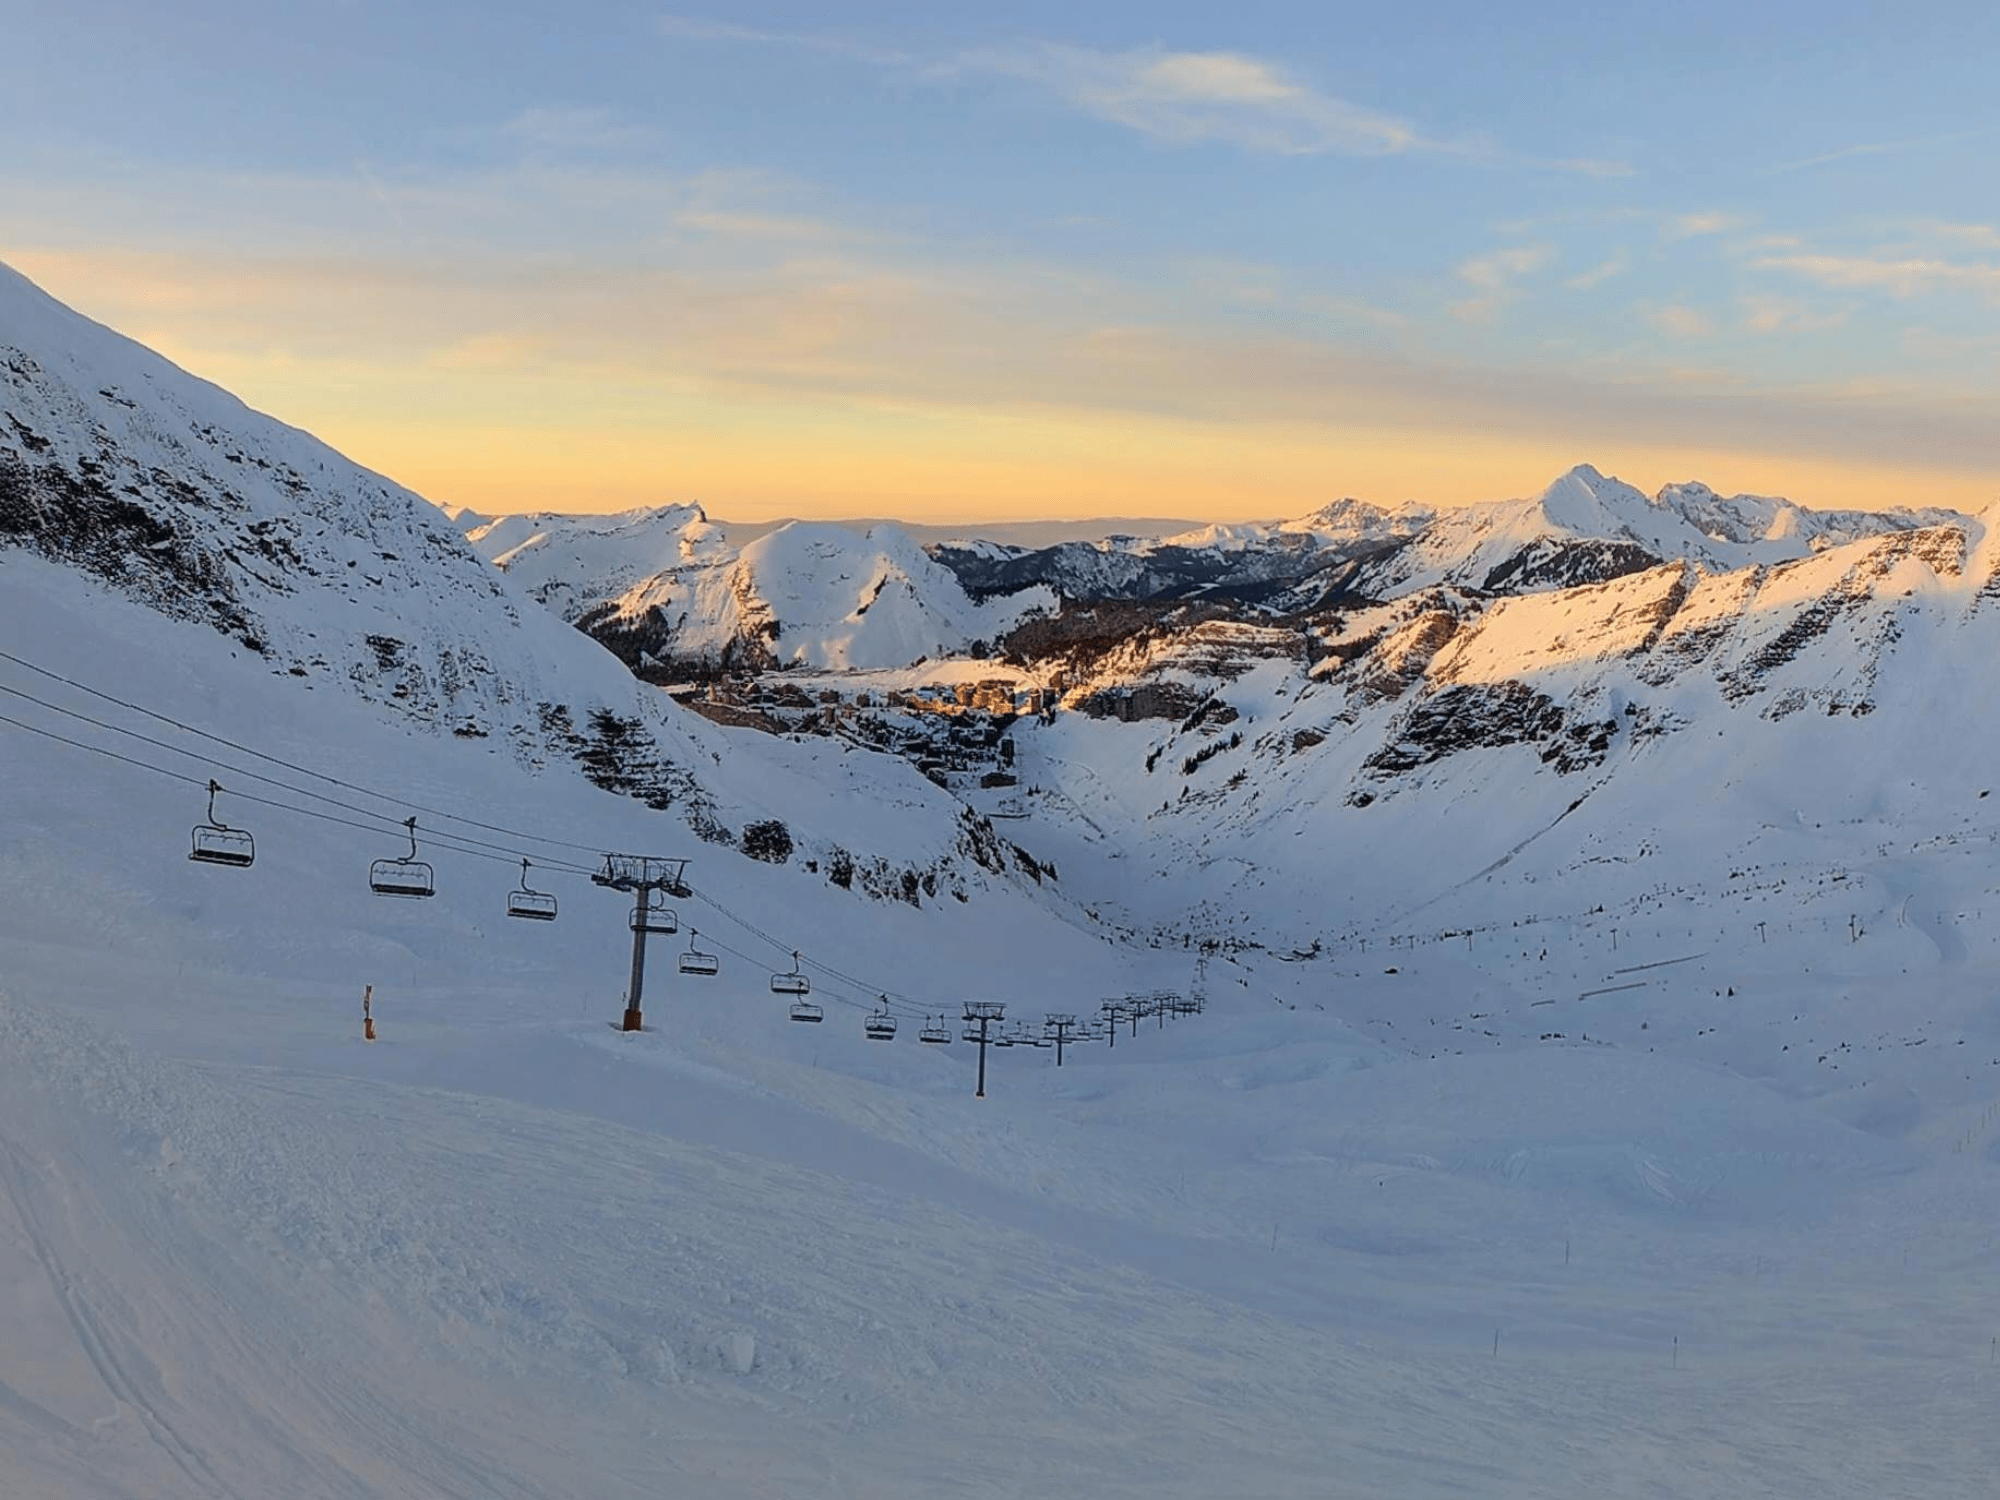
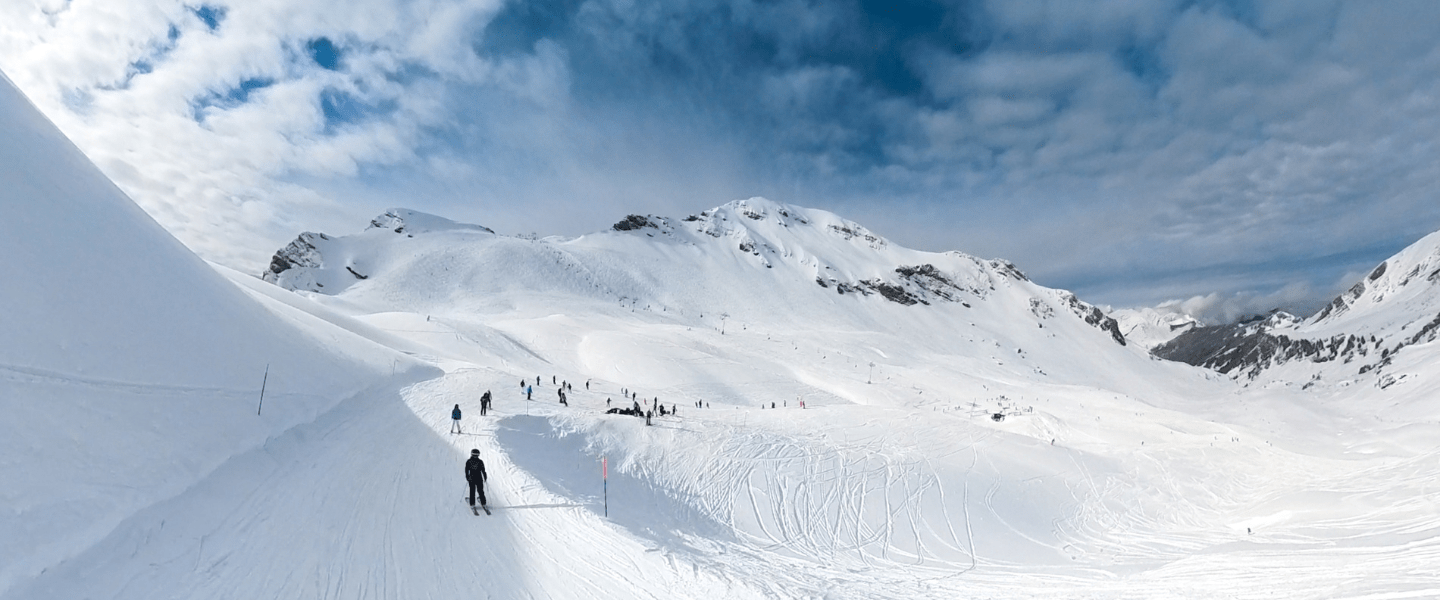
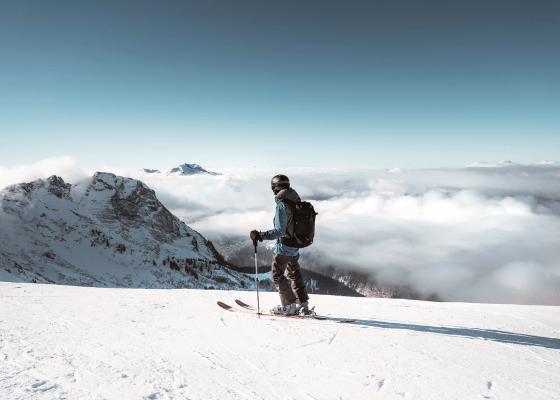
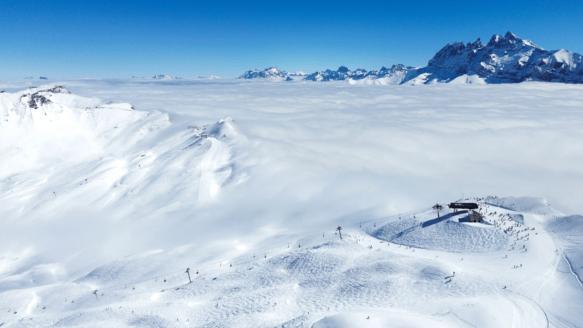
Avoriaz is a destination like no other. Wide-open slopes with panoramic views, a snow-covered pedestrian resort, a magical atmosphere, and unique architecture. It is a setting that deserves to be captured as a whole, not just through a fixed angle.
Insta360’s 360-degree technology is perfectly suited to this environment. You film everything around you without worrying about framing. Automatic stabilization absorbs vibrations, even on more demanding runs, and the camera handles cold and snow without hesitation. The result is simple: you ski as usual, and the camera does the work for you.
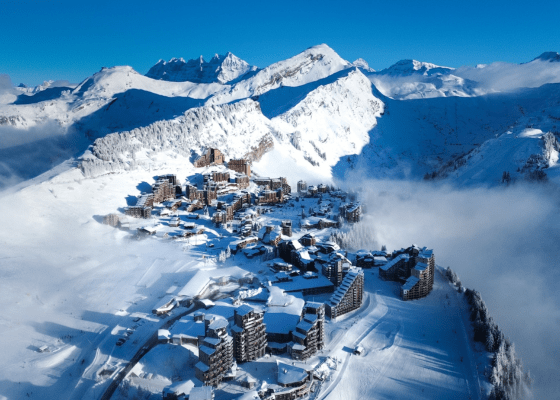
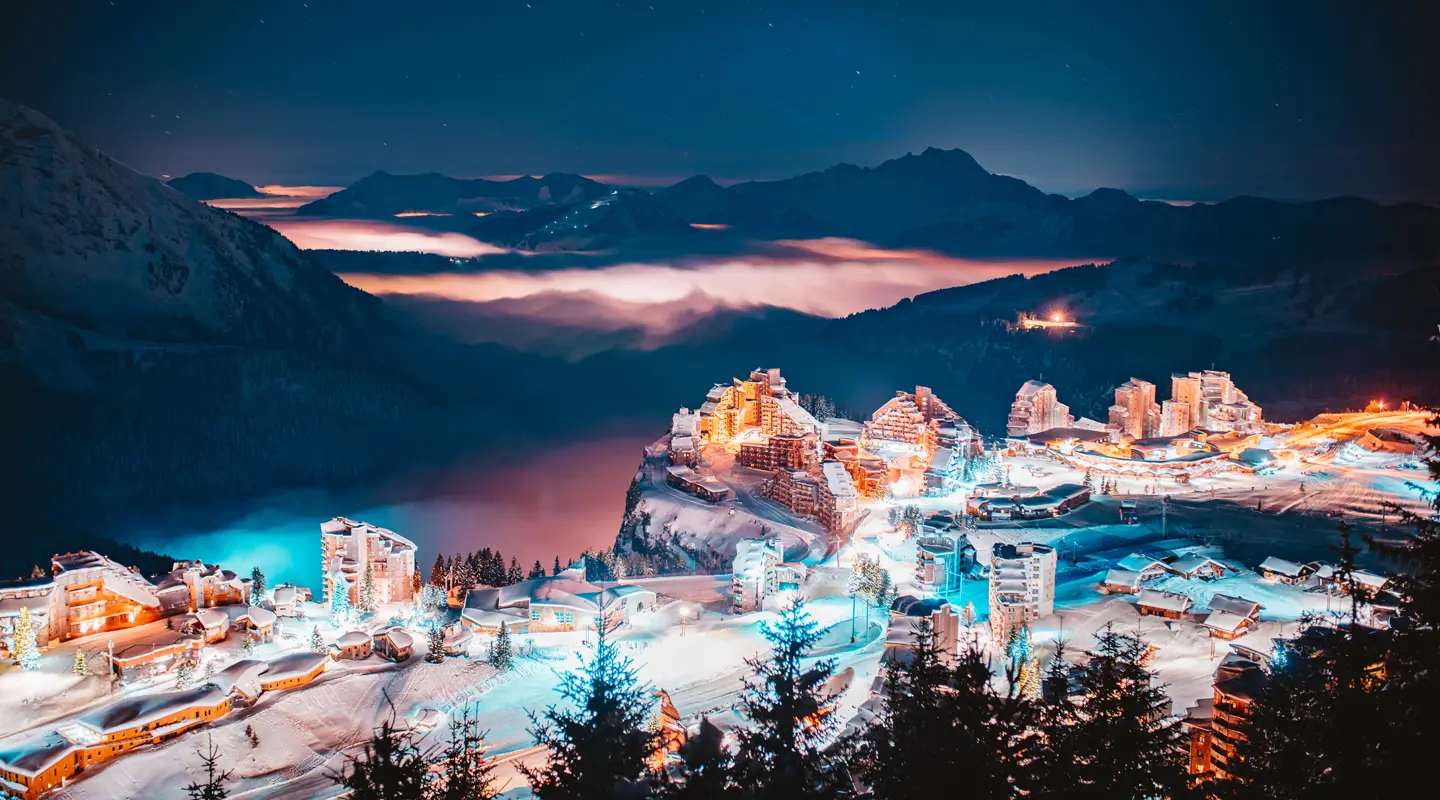
Pedestrian resort
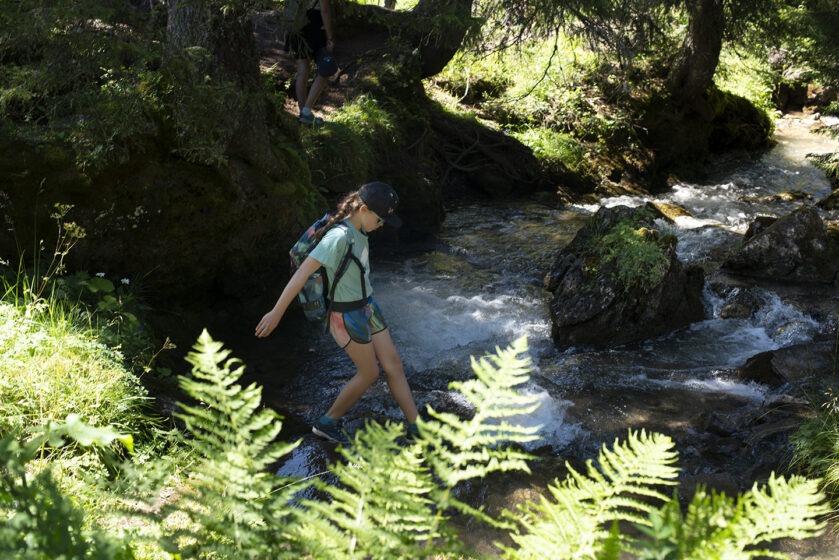
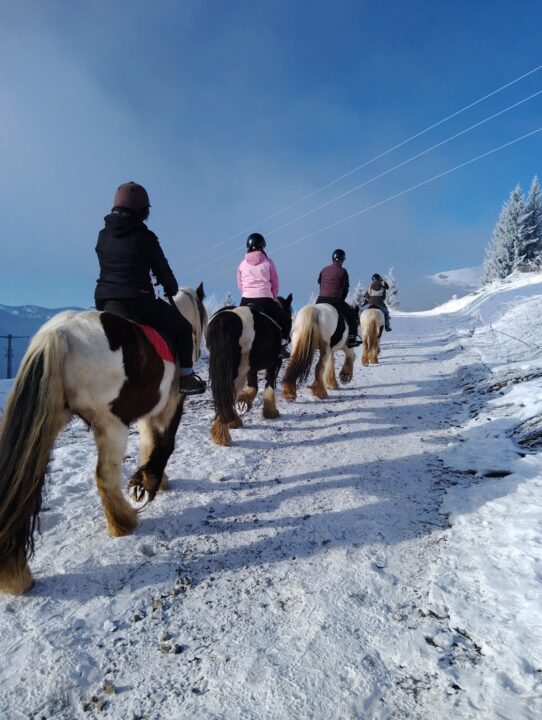
Since its creation, Avoriaz 1800 has been designed as a car-free resort, with a unique concept of a 100% pedestrian village. In winter, people move around on skis through snowy streets where skiers, pedestrians and horse-drawn sleighs share a magical setting. In summer, cars are left behind in favour of walking, cycling or riding a scooter, in a peaceful, family-friendly atmosphere. Everything is within easy reach, surrounded by unspoiled nature. In Avoriaz, freedom and simplicity truly come to life.
Ski area and maps
Avoriaz 1800 is located in the heart of Portes du Soleil, one of the largest cross-border ski areas in the world, where 12 French and Swiss resorts are interconnected.